How to Take Photographs of Your Diamond Engagement Ring
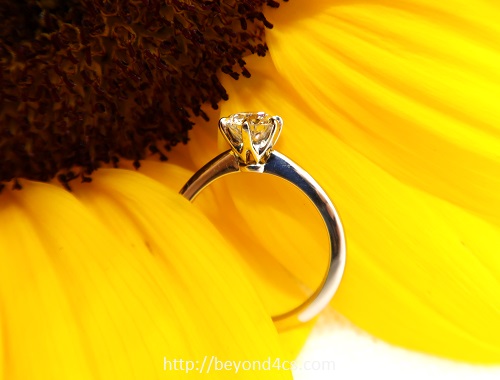
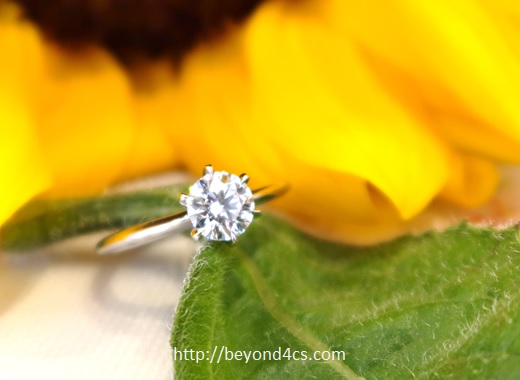
Photograph of diamond ring captured without professional or expensive gear.
Getting great looking jewelry photography can be tricky to capture.
Most people don’t realize a lot of expertise has to go into creating the stunning pictures you see in splash pages and magazines. That’s the reason why jewelry companies often employ people with specialized skill-sets and invest in high-end equipment to create professional images of their products.
That said, don’t let this scare you into thinking you can’t take decent photographs even with simple tools. If you had just received your ring and want to share pictures of it with everybody online, you are at the right place.
Capturing breathtaking jewelry photos requires more than just a good camera—it’s about mastering lighting, angles, and reflections to highlight the intricate details that make each piece unique. Jewelry, with its reflective surfaces and delicate craftsmanship, presents a challenge even for seasoned photographers.
However, understanding the fundamentals of macro photography and experimenting with different light sources can make a huge difference. Whether it’s soft natural light or a controlled studio setup, the right approach ensures that gemstones sparkle and metalwork shines without harsh glare or unwanted reflections.
For those looking to enhance their jewelry photography effortlessly, https://www.flourishpresets.com offers an array of professional presets designed to refine colors, balance exposure, and enhance details with just a few clicks. Lightroom presets provide a quick yet powerful way to achieve consistency in your images, whether you’re showcasing a delicate engagement ring or an intricate necklace.
By using expertly crafted presets, even amateur photographers can bring a polished, editorial-quality finish to their jewelry shots, making them look just as captivating as the ones seen in high-end advertisements.
It’s not just about taking a picture of your engagement ring; when you’re proceeding further in life capturing a wedding, you want everything from the intricate details to the candid moments, perfectly preserved. Whether it’s the soft glow of your engagement ring or the vibrant energy of your big day, every moment deserves the right light and angle.
With the expertise of SvenStudios, even a simple camera can bring out the beauty in each shot, giving you professional-grade images that capture memories for a lifetime.Every wedding is unique, and the photography should reflect that individuality.
From the emotional first look to the joyful celebration, the pictures should tell a story, capturing the essence of each moment. It’s not about just snapping photos; it’s about understanding the significance of each interaction, gesture, and expression.
This article will show you insights on how to photograph your diamond ring using basic point-and-shoot cameras and mobile devices. By the end of this tutorial, you will be able to capture decent pictures you can proudly share on social networks.
Here are a list of topics we will be covering:
▸ Always Use the Macro Mode For Best Results
▸ Taking Images of Diamond Rings With Mobile Devices
▸ Quality of Images is Dependent on Various Factors
▸ Keep Your Hands And the Object as Stationary As Possible
▸ Try Not to Use Any Zoom Functions
▸ Quick Recap And Remember, Practice Makes Perfect!
Always Use the Macro Mode For Best Results
Most modern cameras/mobile devices have a “Macro” function that is depicted with a flower/tulip icon. This enables the user to capture close up views of a specific object in higher definitions than the other modes.
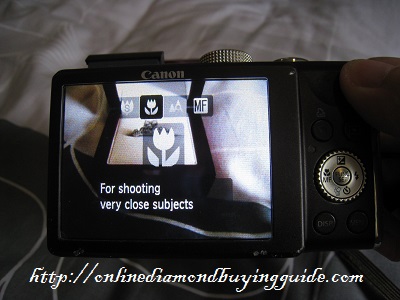
Look for the flower/tulip icon on your gadget to enable the macro mode.
Here’s a comparison between using the “Auto” mode and the “Macro” function on the same camera.
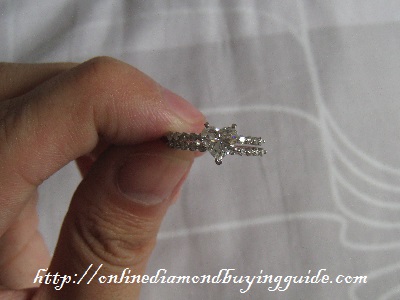
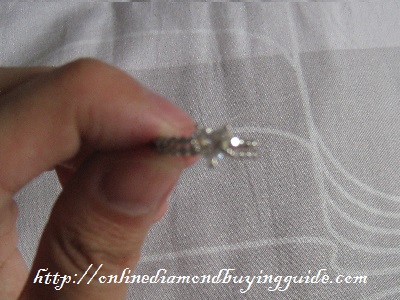
Can you tell which image was taken with the macro mode? If you guessed the left image, you are correct. The blurred image on the right is captured using the “Auto” mode function on the camera.
Believe it or not, that is how most of people actually take photos because they didn’t take the time to learn more about the functions of their cameras! When shooting close up objects, the macro mode helps the camera to focus on the subject.
Taking Images of Diamond Rings With Mobile Devices
For Apple products like the iPad and iPhone, the macro mode is activated automatically when the camera detects an object a few inches away from the lens.
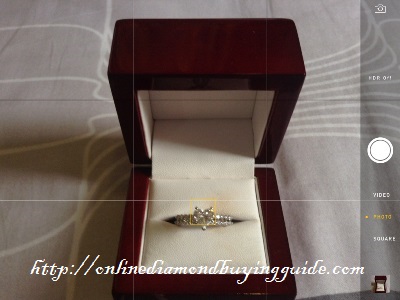
The interface from Apple’s latest iOS7 on my iPad.
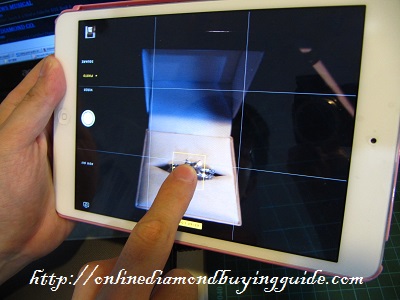
Tap to select the focus area.
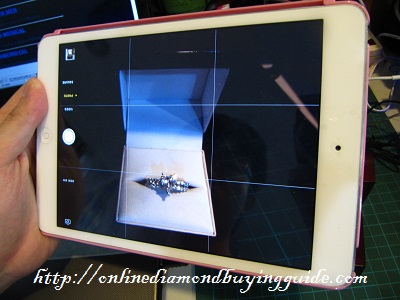
Hold the device steadily while until the image is focused before you click “shoot”.
The newer models of mobile phones like the Samsung Galaxy S4 also have sensors which automatically activate the macro mode. If your mobile phone is having difficulties in focusing on nearby objects, you probably need to manually activate the macro mode via the settings.
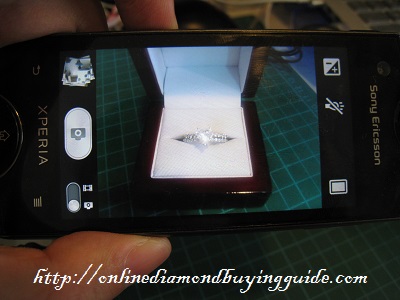
My personal handphone requires manual setting changes to focus on nearby objects.
Quality of Images is Dependent on Various Factors
The lighting in which you take photographs of your diamond ring plays the most crucial role the resultant image quality. The reasoning behind this is actually simple light physics.
In the same way our human eye sees things, cameras can capture images because of light that is reflecting off the object’s surface. The better the light source you have, the better the eyes and camera can detect and process the imaging.
As an analogy, is it easier for you to read a book in dim lighting as compared to reading a book in bright lighting? The answer is pretty obvious. This is the same rule that applies in photography.
If you are in a dark room, pull the curtains open to allow natural lighting into the room. You will see an instant improvement in your pictures.
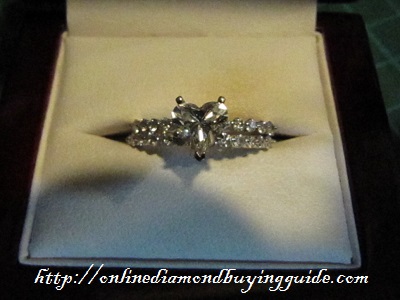
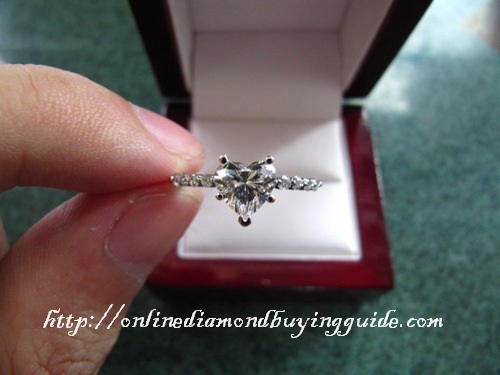
Most people make the mistake of taking pictures in poor lighting or during the evening and they often end up with blurry or grainy pictures. In order to get better pictures when photographing your diamond ring, what you should do is to wait till the next morning or afternoon when the environment gets brighter.
Diffused natural daylight is the best form of lighting because it is consistent and the most available form of lighting in the world. Although this term may sound like incomprehensible technical jargon, it simply refers to sunlight that isn’t shining directly onto the object.
So, make your way towards the windows of your house or take a walk outside with your camera and locate the perfect spot for yourself.
Keep Your Hands And the Object as Stationary As Possible
If you are trying to take a hand shot of the diamond ring on your fingers by yourself, it would require some dexterity and skill. Chances are, you will be manipulating your camera with one hand while trying to keep the other hand steady. I can tell you from personal experience that it is no easy feat to keep your hands stable. And when you have shaky hands, you will expect to see blurry pictures.
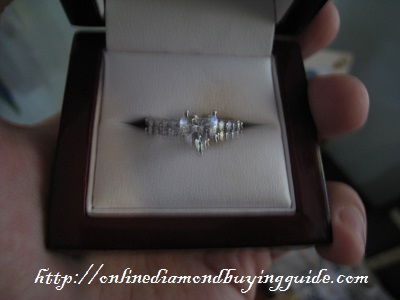
Any slight movements will result in an image that isn’t sharp.
If you have to take photographs without a tripod, what I would recommend is to anchor your hand or elbow onto something (e.g. table) which can give you a firm support. If you are outside and are not close to any sources of support, tucking in your elbows close to your body is an alternative to minimize hand shaking.
Tip: Holding your breathe when you press “shoot” can also help to minimize the natural movements of your body. Much like firing a real gun, holding your breath reduces unwanted movement and improves your end result!
Turn of the Flash When Photographing a Diamond
It is a bad idea to snap a picture of a diamond ring with the flash on. The reason behind this is that diamonds are cut to reflect light. When the flash hits the diamond’s surface, the facets can act as mirrors and reflect the flash in back into the lens.
And could you guess what kind of image you would end up with? An overly bright image with poor detail definitions.
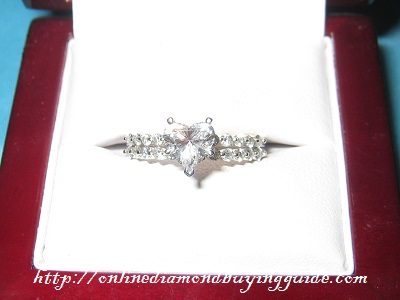
Too much light will kill diamond photography!
In a close range shot, the flash creates a sudden burst of extremely strong light onto the diamond. This causes the diamond to pick up an opaque look and the overall image will be over-exposed (too white!). To avoid photographs like the image above, make you set your camera’s flash to off.
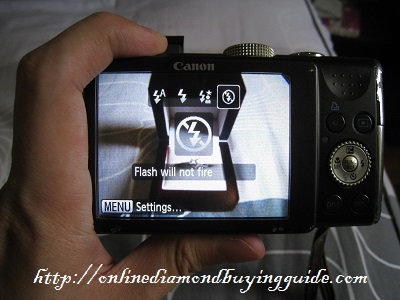
Turning off flash will allow you to capture more details.
Try Not to Use Any Zoom Functions
I recommend that you turn off and not use any zoom function on your device. While zooming is a handy function for normal day to day photo taking, it isn’t useful for macro purposes. This is because it can mess up the processing and focusing capabilities of the camera.
Instead of using zoom, move your camera lens closer or further away physically to the ring. This will allow you to get the desired image framing of the diamond ring.
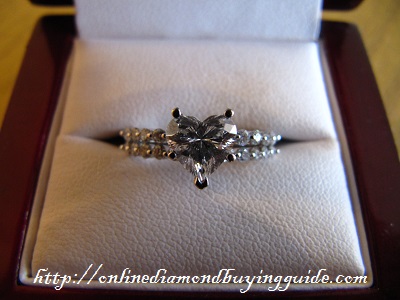
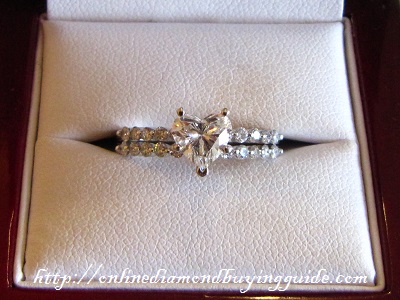
Being too close or too faraway can cause different issues. You need to find your own sweet spot.
I know this may sound contradictory but you need to be aware that moving the camera lens too close to the diamond can cause significant light obstruction. This will make the diamond appear dark and black because the facets is actually reflecting images of the camera within its facets like a mirror!
In the examples above, the camera was positioned at about 2 cm away from the ring on the left image and about 20 cm away from the ring on the right image.
What you can do here is to experiment and try taking photographs of the ring from a multitude of distances. Thereafter, you can filter out the images that aren’t optimal and simply keep the good ones.
A Quick Shout Out: Get Professionally Taken Pictures of Your Ring
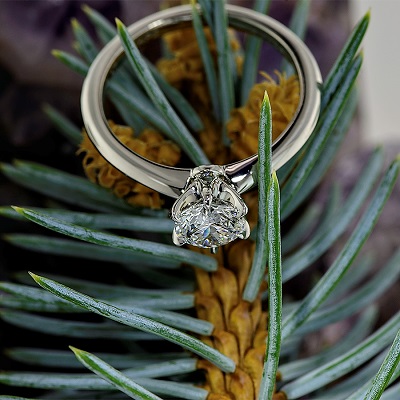
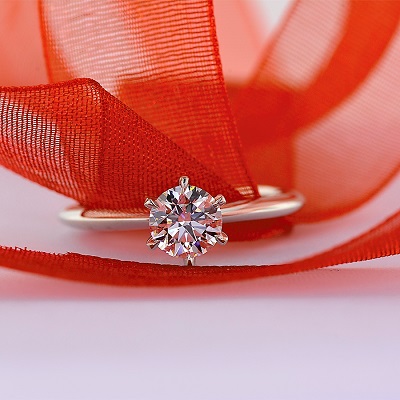
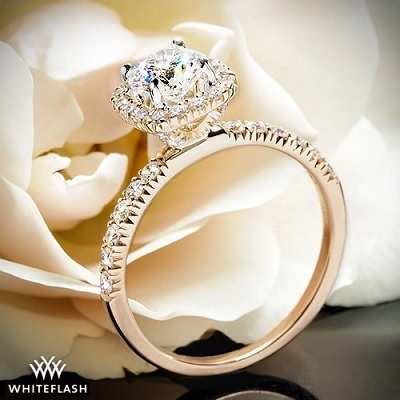
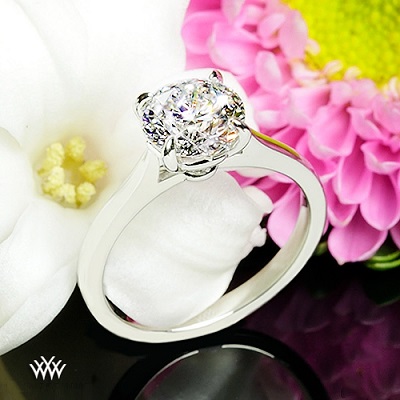
As a free value added service, vendors like White Flash and High Performance Diamonds will capture professional images of finished rings and jewelry items. This means you get stunning images of YOUR jewelry provided for free and can easily share them with your friends or family.
Check out some samples of the images they took, including for an engagement ring I received…
A Quick Recap And Remember, Practice Makes Perfect!
Here’s a quick summary of things you should bear in mind when attempting to
1) Find a nicely lit area with diffused lighting.
2) Turn on the “Macro” mode.
3) Turn off the flash settings.
4) Don’t zoom!
5) Minimize body movements by tucking in your arms or holding your breath when you click “shoot”.
Once you know these tips in mind, taking a decent photograph of your diamond ring should be a piece of cake. With some practice, you will have a better understanding how your camera reacts in various conditions and use your knowledge to take better pictures.
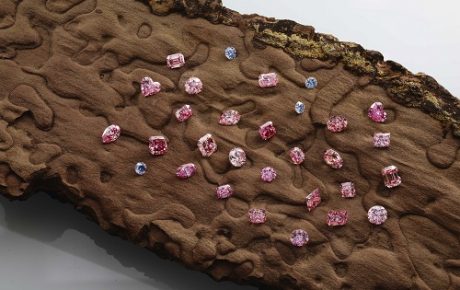
For people who are more ambitious, you might want to experiment with background props like flowers or symbolic items. In fact, I did that last year and made a blog post using some loose stones I had on hand. Now, go pick up your camera and start snapping away.
Feel free to post any questions below or even send me a picture or two. I would be interested to see how your photo-shoot turns out. Have fun!
Related Articles
Leave A Comment






One Comment
somehow, the image with flash looks like a nice photo to me. I liked it the most.